
TL;DR

Get business pricing on tools and workshop supplies
- Business-only prices and quantity discounts
- Tax-exempt purchasing
- Multiple users, one account, clear invoices
Choose a drywall sander attachment by checking its connection and diameter, matching its head and dust setup to the surface, and using the least aggressive suitable abrasive. A powered head can speed up broad walls and ceilings, while a manual pole sander or hand block gives you better control in corners and for touch-ups. No attachment eliminates dust or replaces careful joint work, light pressure, and inspection under angled light.
A shiny new attachment can still leave you with a dusty room and a gouged joint if it does not fit your sander or suit the job. The smooth finish comes from the whole setup: a compatible head, the right abrasive, steady movement, and dust collection that actually pulls air through the tool.
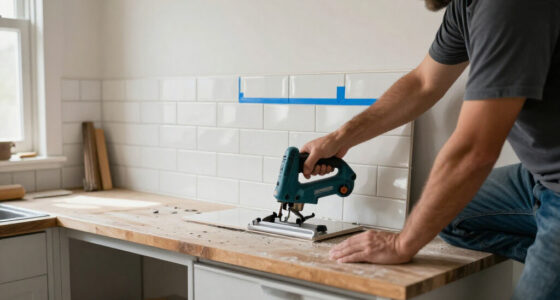
This guide helps you sort out powered sander attachments and manual pole-sander heads, choose a head for walls, ceilings, and tight spots, and avoid sanding through the compound into the paper face. You will also learn when to reach for a hand block, when to rent a powered unit, and how to inspect your work before primer makes every ridge stand out.
Think of the attachment as a steering system, not a shortcut. A well-balanced head and hose can make long passes feel controlled; a poor fit can turn a simple afternoon job into a cloud of fine dust and a round of patching.
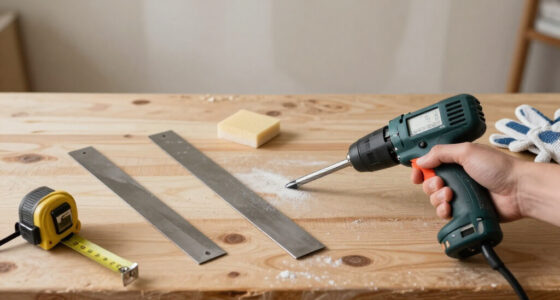
Confirm the attachment’s connection, diameter, and maker-approved compatibility with your sander and vacuum before buying.
Treat dust control as a complete path: shroud, sealed hose fit, suitable airflow, and the specified filter, plus eye protection and a fitted respirator.
Use a suitable abrasive and light pressure; replace clogged or worn screens instead of leaning harder on the pole.
Use powered heads for broad wall and ceiling passes, then switch to a hand block for corners, edges, and delicate touch-ups.
Inspect joints under angled light and repair exposed drywall paper before priming; sanding cannot fix poor taping or compound work.
FIELD GUIDE · WALL & CEILING FINISHING
Choosing the Best Drywall Sander Attachments for Smooth Finishing
Match the connection, head, dust setup, and abrasive to the surface. The right attachment helps you work smoothly; light pressure and careful inspection protect the finish.
Choose the setup for the surface
Powered heads cover ground efficiently. Manual heads and hand blocks offer more direct control where precision matters.
Large walls & ceilings
Choose a compatible powered head for broad passes. A swivel can help keep the abrasive flat. Consider the combined weight of tool, pole, attachment, and hose.
Small rooms & seams
Direct feedback and fewer moving parts suit controlled passes and repairs. Coverage is slower, and dust may escape without a suitable collection setup.
Corners & delicate work
Switch to hand sanding for edges, tight areas, and light touch-ups. A block is easier to control than a long pole across a small repair.
Know what each setup trades
Tool features can help, but they come after a secure fit and a head you can guide evenly.
| Setup | Best fit | Watch for |
|---|---|---|
| Powered sander head | Large walls and ceilings; faster broad-area work | Weight, hose drag, and tool compatibility |
| Manual pole-sander head | Small rooms, touch-ups, and controlled passes | Slower coverage and dust escape |
| Hand sanding block | Corners, edges, and delicate repairs | Fatigue if used across broad areas |
Build a sealed path to the vacuum
A port alone does not promise a clean room. Poor hose fit, restricted airflow, or a clogged filter can leave fine dust in the air.
Follow the sander and vacuum makers’ instructions. Wear eye protection and a properly fitted respirator; extraction reduces dust but cannot eliminate it.
Start gentle. Let the abrasive work.
Use the grit recommended for the compound and sanding stage. There is no single grit that suits every surface or tool.
Match the cut to the job
Let compound dry fully. Replace worn, torn, or clogged screens instead of pressing harder. Excess pressure can gouge compound and damage the drywall paper face.
Make a smooth pass without cutting into paper
The attachment is a steering aid, not a shortcut. Good taping, compound, drying, and lighting still determine the finish.
Confirm fit
Check the exact sander or pole model, connection diameter, and maker-approved compatibility.
Set extraction
Seat the shroud, seal the hose, check airflow and filter, and manage hose drag.
Sand lightly
Use a suitable abrasive, even pressure, and overlapping passes. Keep the head moving.
Inspect & repair
Check joints under angled light. Repair exposed paper before primer; sanding cannot fix poor taping.
Verify the connection before you buy
Similar-looking collars can still be loose, restrictive, or incompatible. Test-fit the head and hose before setup, and ask the maker when specifications do not list your model.
Start with the connection, not the product claims
The best drywall sander attachments are the ones specified to fit your exact tool, because connection type and diameter decide whether the head stays secure and the dust path seals. Check the sander or pole model, the attachment maker’s compatibility guidance, and the vacuum fitting before you buy; similar-looking collars can still be loose, restrictive, or incompatible.
That matters most when you are connecting a powered drywall sander to a shop vacuum. A head may bolt onto the sander while its port does not match the vacuum hose, leaving an air leak that scatters dust around the room. A manual pole-sander head is another category: it may accept a sanding screen or paper, but it does not automatically attach to a powered sander or provide powered dust extraction.
For example, if you are finishing one bedroom, test-fit the head and hose before opening the joint-compound bucket or covering the floor. Look for a secure connection, free movement, and a clear path from the head’s shroud to the vacuum. If a model’s instructions do not list your sander, vacuum, or hose size, ask the manufacturer instead of forcing a fit with tape.
Recent designs often offer tool-free abrasive changes, adjustable heads, lighter parts, or variable speed on powered models. Those features can help, but they do not override compatibility. A reliable fit is the first spec to check; convenience features come after it.
Popular right now

KitchenAid Classic Series 4.5 Quart Tilt-Head Stand Mixer K45SS, Onyx Black

KitchenAid Artisan Series 5-Quart Tilt-Head Stand Mixer, Dried Rose (KSM150PS)

Dyson Ball Animal 2 Plus Corded Vacuum
As an affiliate, we earn on qualifying purchases.
Choose a powered head for broad passes and a pole head for control
Drywall sander attachments differ most in how they move and how much control they give you: powered heads cover broad surfaces efficiently, while manual pole heads let you feel the cut directly. The choice depends on the room size, the surface, and your tolerance for weight and setup.
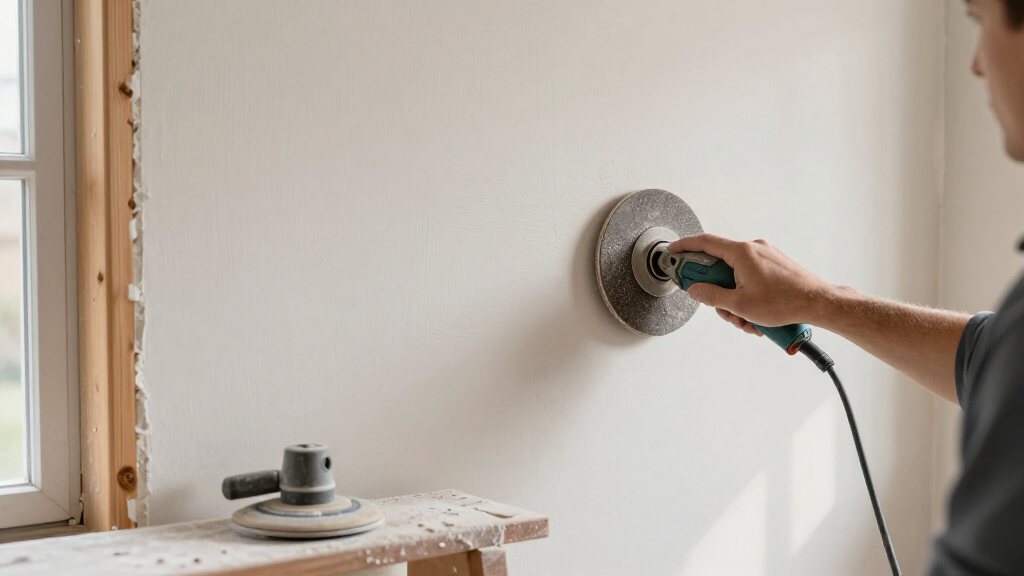
A powered round head can move across a large wall or ceiling faster than hand sanding, especially when it has a swivel that keeps the abrasive flatter against the surface. That swivel is useful over a taped seam where a rigid head could tilt and leave a shallow hollow. But the tool, attachment, hose, and pole all add weight; after several ceiling passes, even a capable DIY user can start lifting with their shoulders instead of guiding the head smoothly.
A manual pole-sander head has fewer moving parts and gives you direct feedback. If you are blending one repaired seam in a hallway, that simplicity can be a real advantage. The tradeoff is slower coverage and more dust unless you use an appropriate dust-control setup.
For a whole basement renovation, a powered unit may earn its rental fee through faster broad-area work. For a single patch beside a door casing, a hand block or manual pole head is often easier to control. More power is useful only when you can keep the head flat and moving.
| Setup | Best fit | Watch for |
|---|---|---|
| Powered sander head | Large walls and ceilings | Weight, hose drag, and tool compatibility |
| Manual pole-sander head | Small rooms, touch-ups, and controlled passes | Slower coverage and dust escape |
| Hand sanding block | Corners, edges, and delicate repairs | Fatigue if you use it across broad areas |
Build dust control from the head to the vacuum
A drywall sander attachment can reduce airborne dust when its shroud, hose, airflow, and filter work as one sealed system. A vacuum port by itself is no promise of a clean room. A loose hose collar, clogged filter, or weak airflow can leave a pale haze drifting through the light while the machine runs.
Before sanding, check that the shroud sits close to the surface, the hose fits securely, and the vacuum is suitable for the tool and the dust you are collecting. Follow both manufacturers’ instructions for airflow and filter requirements. If the hose keeps tugging the head sideways, support it or reposition the vacuum so you can guide the sander without fighting the line.
Suppose you are sanding a ceiling in a furnished room. Even with extraction, protect nearby surfaces and wear eye protection and a properly fitted respirator; fine drywall dust can escape when you lift the head or work along an edge. Keep people out of the sanding area, then clean up carefully rather than sweeping dry dust into the air.
Dust collection is part of finish quality, too. With less dust hanging in the air, you can see joint edges and scratches more clearly. Do not treat extraction as a substitute for PPE; a well-fitted shroud reduces the mess, but it cannot promise that every particle stays in the hose.
Use the least aggressive abrasive that levels the joint
For smooth finishing, start with the least aggressive grit that can level the dried compound, then change to a finer abrasive only if the surface needs light refinement. The correct grit depends on the compound, the sanding stage, and the tool maker’s guidance, so follow the abrasive and tool instructions rather than relying on one universal number.
Coarser abrasives remove material quickly, but they can leave visible scratches or cut through the compound and into the drywall’s paper face. Fine abrasives are better suited to light finishing, but they may clog or take too long on a pronounced ridge. If a disc or screen is worn, torn, or loaded with compound dust, replace it. Pressing harder on a clogged abrasive usually adds fatigue and uneven pressure without restoring a clean cut.
For example, a ridge along a bedroom seam may need a careful leveling pass before you switch to a lighter touch. Let the compound dry fully first; soft compound smears, clogs abrasives, and can pull away under a sanding head. Keep the tool moving and use overlapping passes so you do not create a shallow dish in one spot.
Pressure is not a substitute for a fresh abrasive. If you find yourself leaning on the pole to make progress, stop and check whether the compound is dry and the abrasive is still cutting evenly. That pause can save you from repairing torn paper or a gouged joint.
Make a smooth pass without cutting into drywall paper
A smooth finish comes from light, even pressure and a moving head, not from holding a sander against the same ridge until it disappears. Drywall paper is the face of the panel; once you tear or expose it, the repair can take more work than the sanding did.
Use this sequence on a typical taped joint after the compound has dried:
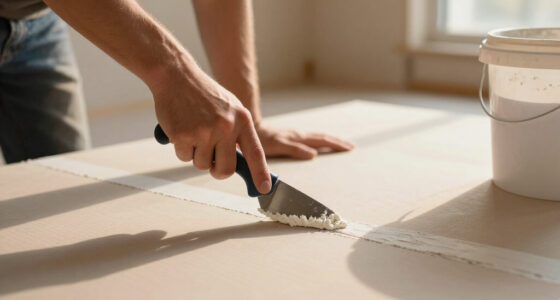
- Check dryness. Follow the compound instructions and wait until the joint is fully dry; soft compound smears and clogs abrasive.
- Fit the head and abrasive. Confirm the attachment is secure and use an abrasive suitable for the compound and stage.
- Start with light contact. Keep the head flat and let the abrasive cut instead of leaning into the pole.
- Overlap steady passes. Move along and across the seam, blending the edges without dwelling on one spot.
- Inspect under angled light. A work light held low to the wall makes ridges and scratches easier to spot.
- Switch to hand sanding for detail. Use a block at corners and tight edges, then stop when the joint is smooth.
On a ceiling seam, the longest pass is often where fatigue creeps in. Take a break before your arms tire enough to make the head tilt. If you expose or tear the paper, stop sanding and repair that damage before priming. Primer will reveal a rough patch; it will not hide a gouge or a torn face.
Keep corners and edges out of the round head’s blind spots
Round powered heads handle open wall areas well, but hand sanding often gives cleaner control at corners and edges. A large circular pad cannot always reach neatly into an inside corner, tight return, or narrow strip beside trim. Forcing it there can bump the adjoining surface or remove too much compound at the edge.
Imagine finishing a small bathroom wall where a taped joint runs into an inside corner. Sand the broad face with the powered head, stop short of the corner, and finish the last stretch with a hand block or suitable detail tool. That short change in method takes less time than patching a rounded-over edge or a scuffed painted door casing.
At outside corners, pay attention to the corner bead and the compound around it. Use a light touch to blend the compound without exposing the bead or leaving a sharp ridge. Check both faces from different angles; a joint that looks flat straight on may show a shadow under side light.
Good attachments can make finishing faster and more consistent across open areas, but they do not remove the need for hand work. Keep a sanding block and spare abrasive within reach. Use the powered head for coverage and the hand tool for precision, especially where surfaces meet.
Spend your time on the finish, not extra features
A drywall sander attachment cannot correct poor taping or uneven compound application. Sanding is one stage in the finish: the joint must be taped properly, the compound applied and dried as directed, and the surface checked after sanding. A fast tool can remove ridges, but it cannot put a hollow seam back where it belongs.
That is why a lightweight, well-balanced setup can beat a feature-packed one for a long ceiling job. You can guide a balanced head with less strain, keep the abrasive flatter, and make overlapping passes without letting hose drag steer the tool. Variable speed or a tool-free abrasive change can be useful, but only if the model fits your work and the maker’s instructions support the setup.
For a small DIY repair, a manual pole head and hand block may be enough. If you are finishing several rooms or tall ceilings, compare the cost and learning curve of a powered sander with renting one for the job. A rental can make sense when you need broad coverage for a short period; buying makes more sense when the tool will see regular work and you can store and maintain it.
Before you choose, weigh surface area, reach, combined weight, dust control, and frequency of use. In a one-room patch, extra runtime and advanced features may never pay off. On a whole-house renovation, faster coverage and effective extraction may save enough labor to justify the larger setup.
Frequently Asked Questions
Will a drywall sander attachment fit my shop vacuum?
Check the attachment and vacuum specifications for the connection type and diameter; a similar-looking fitting may not seal or stay secure. Follow the tool and vacuum makers’ instructions for hose fit, airflow, and filter requirements before sanding.
Which grit should I use on drywall compound?
Use the abrasive recommended for your compound and sanding stage, starting with the least aggressive option that levels the joint. Coarser abrasives remove material faster but can scratch the finish or cut into drywall paper; change a clogged abrasive instead of pressing harder.
Can a drywall sander attachment eliminate dust?
No. A well-fitted shroud and suitable vacuum can reduce airborne dust, but some dust may still escape. Wear eye protection and a properly fitted respirator, and clean the room carefully after sanding.
Can I use a powered drywall sander on a ceiling?
Many powered drywall sanders are designed for walls and ceilings, but the combined weight of the sander, attachment, hose, and pole affects control. Follow the tool instructions, keep the head flat, and take breaks if fatigue makes your passes uneven.
How do I avoid sanding through the drywall paper?
Let compound dry fully, use light pressure, keep the head moving, and stop when the joint feels smooth. If you expose or tear the paper, stop and repair it before priming; continued sanding can make the damaged area larger.
Do I still need to hand sand corners and edges?
Often, yes. A round powered head may not reach inside corners or narrow edges cleanly, so a hand block or suitable detail tool gives you better control for those final few inches.
Conclusion
Choose the attachment that fits your sander, controls dust through a complete extraction setup, and stays easy to guide over the surface you need to finish. Let the abrasive do the cutting, keep the head moving, and save a hand block for the corners a round pad cannot reach.
Then check the wall with light skimming across it. A smooth joint should look quiet under that beam—no ridge, no scratch, and no paper showing through.